Create articles from any YouTube video or use our API to get YouTube transcriptions
Start for freeIntroduction
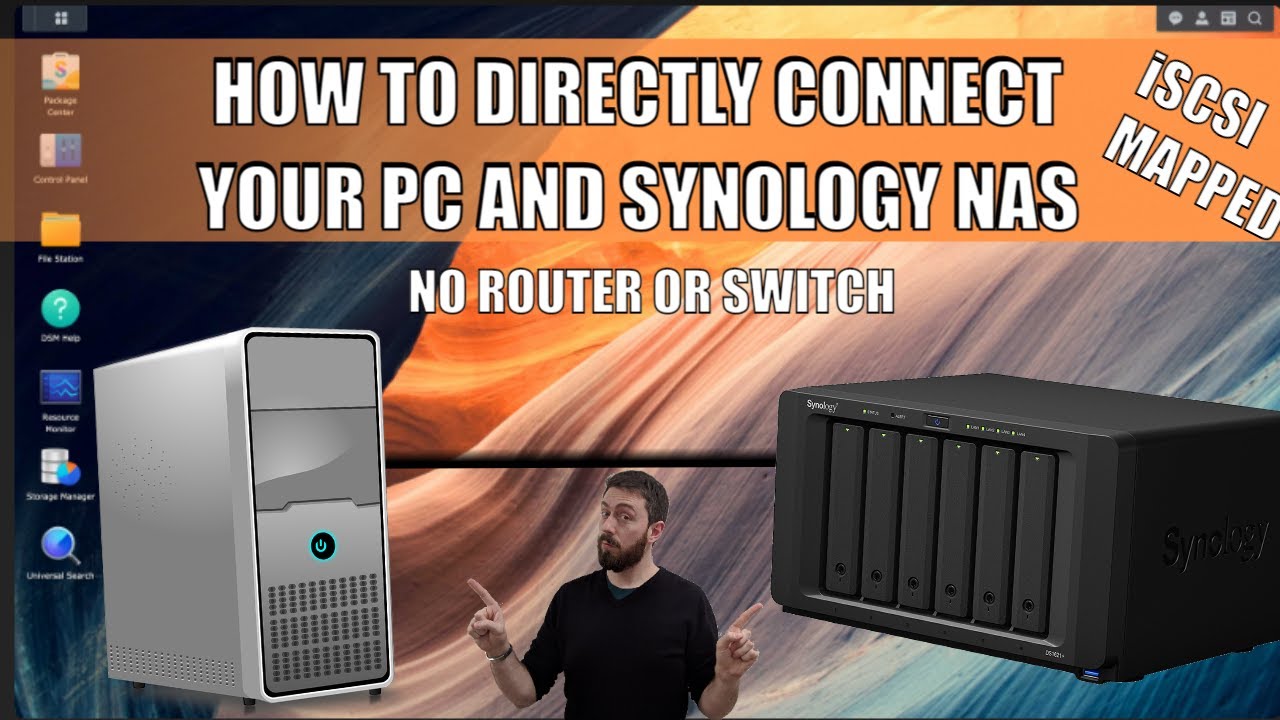
Connecting your computer directly to your Synology Network Attached Storage (NAS) device can be a game-changer for file management and access. This method bypasses the need for a network switch, router, or internet connection, allowing for a straightforward and potentially faster connection. Whether you're using Windows, Mac, or Linux, the focus of this guide is on Windows systems, with a promise to cover Mac systems in a future update.
Why Connect Directly?
The main advantage of a direct connection to your Synology NAS is the simplicity and direct access it offers to the NAS's storage and features. This can be particularly useful in environments where network infrastructure is limited or when looking to maximize the speed and reliability of the connection between the NAS and your computer.
Key Considerations
- Operating System: This guide focuses on Windows 10 Pro setups, though principles may apply to other systems.
- NAS Model: Utilizing a Synology DS220+ for its dual LAN ports, one for internet and one for direct PC connection.
- Pre-Setup NAS: The NAS should already be initialized with DSM installed, a storage pool created, a volume set up, and at least one shared folder available.
Setting Up the Connection
-
Hardware Preparation: Ensure your NAS is powered on. Use a standard Ethernet cable for 1GbE connections, or CAT6/CAT7 for higher speeds.
-
NAS to PC Connection: Plug one end of the Ethernet cable into the NAS and the other into your PC's LAN port. If your PC lacks a LAN port, consider an Ethernet to USB adapter.
-
Network Configuration: On your PC, navigate to 'Network Connections' to verify the NAS is connected. You should see two IPs for your NAS: one for network and another for direct access.
Accessing the NAS
Once connected, you have several options to access and manage files on your NAS:
- Web GUI: Access DSM directly through a web browser for full NAS management.
- Mapped Network Drive: Assign a drive letter on your PC to access NAS shared folders easily.
- iSCSI LUN: For performance-intensive applications, configure an iSCSI LUN for storage space that behaves like a local drive.
Mapped Network Drive Setup
- Right-click on the NAS in 'Network Connections' and select 'Map network drive'.
- Log in and choose a shared folder to be accessible directly from 'My Computer' as a network drive.
iSCSI LUN Configuration
- Use DSM's 'SAN Manager' or 'iSCSI Manager' to create a storage LUN.
- On Windows, use the 'iSCSI Initiator' to connect to the NAS and access the LUN as if it were a local drive.
Conclusion
Connecting your PC directly to a Synology NAS is a powerful setup for users looking for fast, reliable access to their data without the complexity of a networked environment. Whether for general file management, intensive video/photo editing, or simply to streamline your workflow, a direct connection offers a versatile solution. Remember, the setup process might vary slightly based on your operating system and NAS model, but the principles remain the same.
For those interested in further details or looking to set up their NAS for the first time, additional resources and step-by-step guides are available to ensure a smooth process. Stay connected for future updates and guides on leveraging your Synology NAS to its full potential.