Create articles from any YouTube video or use our API to get YouTube transcriptions
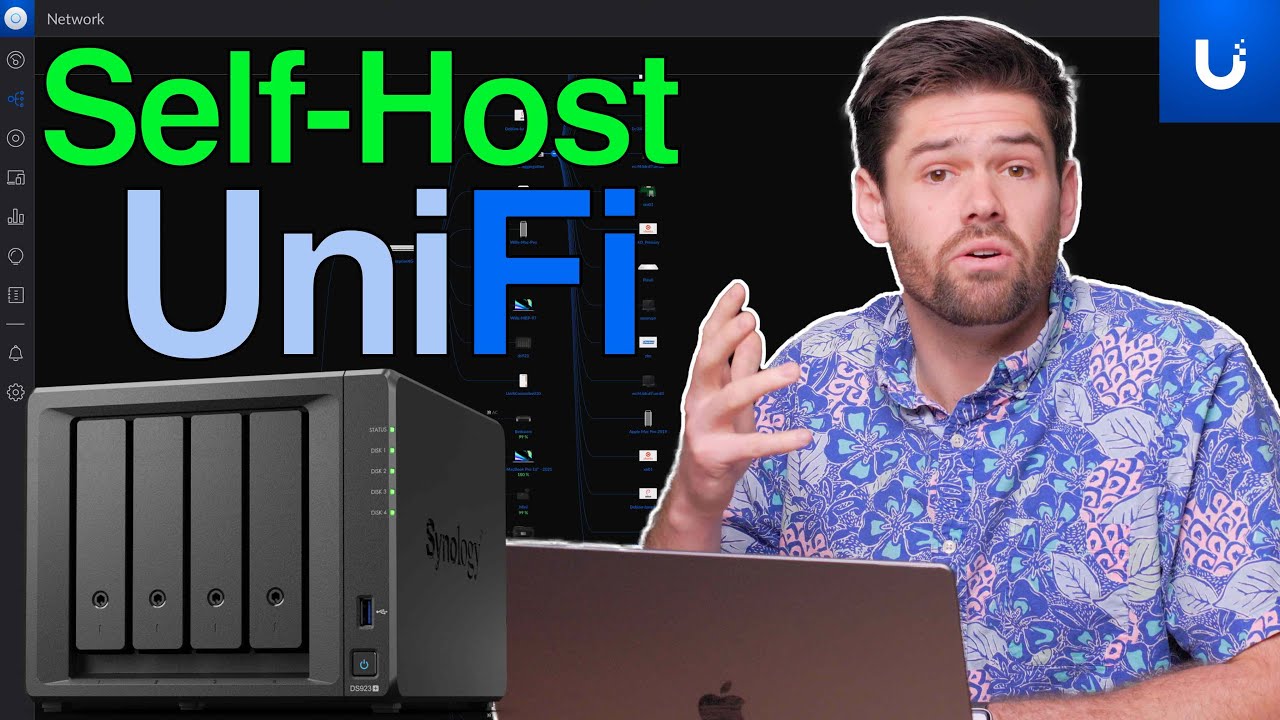
Start for freeSetting up a UniFi Controller on a Synology NAS using Docker offers a cost-effective and efficient way to manage your UniFi devices, such as Wi-Fi access points and switches. This guide walks you through the process, ensuring you can easily control your network without the need for an expensive Cloud Key Gen 2. Whether you're a home user or managing a small business network, this setup can offer significant benefits in terms of cost and functionality. Let's dive into the steps to deploy a UniFi Controller on your Synology NAS with Docker.
Preparing Your Synology NAS for Docker
First, ensure your Synology NAS supports Docker. You can do this by checking the Package Center for Docker or Container Manager, depending on your DSM version. For those on DSM 7.2 Beta or future versions like DSM 10.2, look for Container Manager. Installing Docker is straightforward: search for it in the Package Center and follow the installation prompts.
Downloading the UniFi Controller Docker Image
Once Docker is installed, open it and navigate to the Registry. Search for 'unifi' and download the LinuxServer UniFi Controller image. This image is regularly updated and is one of the most reliable ways to run a UniFi Controller on a Synology NAS.
Configuring the Docker Container
After downloading the image, it's time to deploy the container. Name your container (e.g., 'unifi') and set resource limitations if necessary. Enable auto-restart to ensure the controller is always running. You'll need to configure ports and volume mapping as follows:
- Ports: Ensure you map the necessary ports for the UniFi Controller to function correctly. Important ports include 8080, 8443, and others depending on your specific needs like guest Wi-Fi portal or throughput testing.
- Volume Mapping: It's crucial to set up volume mapping for data persistence. Create a new folder (e.g., 'unifi') in your Docker container directory and map it to '/config'. This ensures your configuration data is retained across updates or restarts.
Finalizing the Setup
Deploy the container and give it a few moments to initialize. Once ready, access the UniFi Controller by navigating to the IP address of your NAS followed by port 8443 (e.g., https://your-nas-ip:8443). You might encounter a security warning due to the self-signed certificate; proceed with caution.
Configuring UniFi Devices
With the UniFi Controller running, the next step is to adopt your UniFi devices. Ensure your Synology NAS has a static IP address to prevent connection issues. You can then inform your UniFi devices of the controller's location through their settings.
Backup and Maintenance
Enabling auto backups within the UniFi Controller settings is a good practice. You can also manually download backups and store them in a designated folder within your Docker directory for extra security.
Conclusion
By following these steps, you can successfully set up a UniFi Controller on your Synology NAS using Docker. This approach not only saves money compared to purchasing a dedicated Cloud Key but also offers flexibility and easy access to your network management tools. Whether for home or small business use, this setup provides a robust solution for managing UniFi devices efficiently.
For more detailed instructions and tips, check out the LinuxServer UniFi Controller documentation. Whether you're looking to manage remote devices or streamline your network setup, this guide has you covered.