Create articles from any YouTube video or use our API to get YouTube transcriptions
Start for freeIntroduction to Deep Seek R1
Deep Seek R1 is the latest state-of-the-art large language model that has been released as open source. This means anyone can download and run it locally on their own hardware. However, the hardware you use makes a big difference in terms of performance and capabilities.
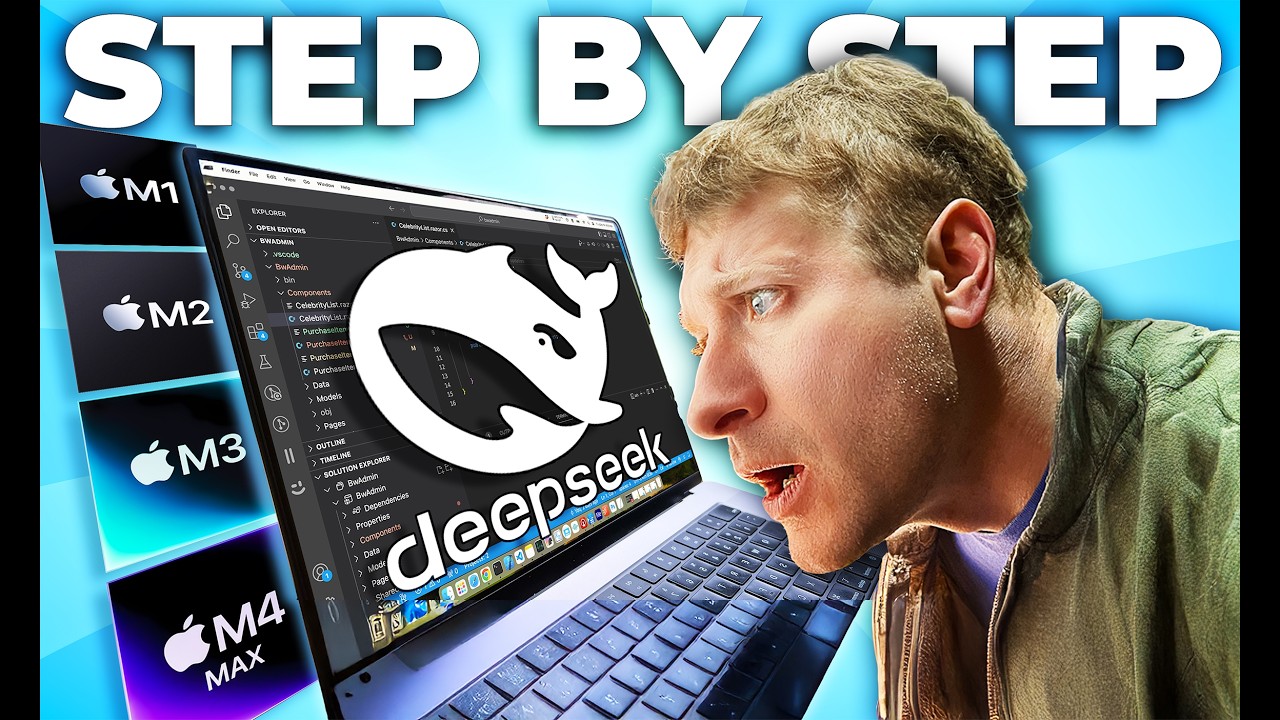
In this article, we'll explore how to run Deep Seek R1 on different Mac hardware configurations, from the M1 MacBook Air up to the powerful M4 Max MacBook Pro. We'll compare performance, discuss hardware requirements, and look at the tools needed to get Deep Seek R1 up and running locally.
Hardware Requirements for Running Deep Seek R1
The hardware you use is critical when it comes to running large language models like Deep Seek R1 locally. More powerful hardware allows you to run larger models with better performance. Here are some key hardware considerations:
- RAM/Unified Memory: More RAM allows you to load larger models. 8GB is the minimum, but 16GB or more is recommended for larger models.
- GPU: A dedicated GPU can significantly speed up inference. Apple's integrated GPUs work well, with more powerful chips like the M4 Max offering the best performance.
- Storage: You'll need sufficient fast storage to store the model files, which can be quite large.
In our testing, we'll be using the following Mac hardware:
- M1 MacBook Air with 8GB RAM
- M2 MacBook Air with 8GB RAM
- M3 MacBook Air with 8GB RAM
- M1 MacBook Air with 16GB RAM
- M4 Max MacBook Pro with 128GB RAM
This range of hardware will allow us to compare performance across different generations of Apple Silicon and RAM configurations.
Tools for Running Deep Seek R1 Locally
There are a few key tools that make it easy to run Deep Seek R1 locally on Mac hardware:
Ollama
Ollama is a simple command-line tool for running large language models. It handles downloading and running models with just a few commands. To install Ollama:
- Go to ollama.com
- Click the download button for macOS
- Drag the downloaded app to your Applications folder
- Run Ollama from the Applications folder
Ollama runs in the background and is accessed via the terminal.
LM Studio
LM Studio provides a graphical interface for running language models locally. It offers more options than Ollama but is still easy to use. To install LM Studio:
- Go to lmstudio.ai
- Download the macOS version
- Install and run the app
LM Studio provides a chat interface and more granular control over model settings.
Running Deep Seek R1 with Ollama
Let's start by running Deep Seek R1 using Ollama on our various Mac hardware configurations.
Installing and Running Deep Seek R1
To run Deep Seek R1 with Ollama:
- Open Terminal
- Run the command:
ollama run deepseek-ai/deepseek-coder-1.3b-instruct
This will download and run the 1.3 billion parameter version of Deep Seek R1. Ollama will automatically select an appropriate quantization level.
Performance Comparison
Let's compare the performance of Deep Seek R1 across our different Mac hardware:
- M1 MacBook Air (8GB): 33 tokens per second
- M2 MacBook Air (8GB): 50 tokens per second
- M3 MacBook Air (8GB): 45 tokens per second
- M4 Max MacBook Pro (128GB): 162 tokens per second
As expected, we see a significant performance boost with the M4 Max chip. The M2 and M3 perform similarly, likely due to being constrained by the 8GB of RAM. The M1 is noticeably slower but still usable.
Running Deep Seek R1 with LM Studio
Now let's explore running Deep Seek R1 using LM Studio, which offers more control over model settings.
Installing and Running Deep Seek R1
To run Deep Seek R1 in LM Studio:
- Open LM Studio
- Go to the Discover tab
- Find Deep Seek R1 in the model list
- Select the desired model size and quantization
- Click Download
- Once downloaded, click Load Model
LM Studio allows you to choose between different model sizes and quantization levels. For our testing, we'll use the 1.5B model with Q4_KM quantization to match our Ollama tests.
Performance Comparison
Here are the performance results for Deep Seek R1 1.5B Q4_KM across our Mac hardware:
- M1 MacBook Air (8GB): 40 tokens per second
- M2 MacBook Air (8GB): 47 tokens per second
- M3 MacBook Air (8GB): 54 tokens per second
- M4 Max MacBook Pro (128GB): 182 tokens per second
We see similar results to Ollama, with LM Studio performing slightly better in some cases. The M4 Max again shows its power, nearly quadrupling the performance of the M3.
Exploring Larger Models
With LM Studio, we can experiment with running larger versions of Deep Seek R1 on our more capable hardware.
8B Model on 8GB RAM
On the 8GB MacBook Air models, we can push to the 8B parameter version of Deep Seek R1, but we need to use heavy quantization:
- Using the Q3_KL quantized version (3.5GB file size)
- Performance on M3 MacBook Air: 7.5 tokens per second
This shows the limits of 8GB of RAM - while we can run the larger model, performance takes a significant hit.
14B Model on 16GB RAM
On the 16GB M1 MacBook Air, we can run the 14B parameter model:
- Using Q4_KM quantization (8.99GB file size)
- Performance: 6.2 tokens per second
While slow, this demonstrates the ability to run much larger models with 16GB of RAM.
70B Model on M4 Max
The M4 Max MacBook Pro with 128GB RAM can handle the massive 70B parameter model:
- Using Q4_KM quantization
- Performance: 9.7 tokens per second
This showcases the power of the M4 Max chip and the benefit of having large amounts of RAM for running state-of-the-art language models.
Optimizing Performance with MLX
For Mac users, LM Studio offers the option to use MLX, an optimized framework for running machine learning models on Apple Silicon.
Comparing MLX to standard GGUF format for the 8B model on the M3 MacBook Air:
- GGUF: 7.5 tokens per second
- MLX: 19.38 tokens per second
This significant speedup demonstrates the value of using optimized frameworks like MLX when running models locally on Mac hardware.
Understanding Model Sizes and Quantization
When running large language models locally, it's important to understand the tradeoffs between model size, quantization, and performance.
Model Sizes
Deep Seek R1 is available in various sizes:
- 1.5B parameters: Good for basic tasks, runs on most hardware
- 8B parameters: Improved capabilities, requires 8GB+ RAM
- 14B parameters: Strong performance, ideally needs 16GB+ RAM
- 70B parameters: State-of-the-art performance, requires high-end hardware
Larger models generally produce better results but require more computational resources.
Quantization
Quantization reduces model size by lowering numerical precision. Common quantization levels:
- Q8: Highest quality, largest file size
- Q6: Good balance of quality and size
- Q4: Smaller size, some quality loss
- Q3/Q2: Heavily compressed, significant quality impact
Choosing the right quantization level depends on your hardware constraints and quality requirements.
Best Practices for Running Deep Seek R1 Locally
Based on our testing, here are some recommendations for running Deep Seek R1 on Mac hardware:
- Match model size to available RAM: Aim for the model file size to be no more than 50-60% of your available RAM.
- Use MLX when possible: On Apple Silicon Macs, MLX provides significant performance improvements.
- Experiment with quantization: Try different quantization levels to find the best balance of performance and quality for your needs.
- Consider upgrading RAM: If you frequently work with large language models, 16GB or 32GB of RAM will provide a much better experience than 8GB.
- Leverage GPU acceleration: Ensure GPU offloading is enabled in LM Studio to maximize performance.
- Monitor system resources: Keep an eye on RAM usage and GPU utilization to understand your system's limits.
Conclusion
Running Deep Seek R1 locally on Mac hardware is not only possible but can provide excellent performance with the right configuration. From basic MacBook Air models to high-end MacBook Pros, there's a way to leverage this powerful language model on your local machine.
Key takeaways:
- 8GB RAM is sufficient for smaller models, but 16GB+ is recommended for larger ones
- The M4 Max chip provides exceptional performance for running large models
- Tools like Ollama and LM Studio make it easy to get started
- MLX optimization can significantly boost performance on Apple Silicon
- Carefully consider model size and quantization based on your hardware
By running Deep Seek R1 locally, you maintain control over your data and can leverage state-of-the-art AI capabilities without relying on cloud services. As hardware continues to improve, we can expect even better performance and larger models to be accessible for local use.
Whether you're a developer, researcher, or AI enthusiast, exploring Deep Seek R1 on your Mac can open up new possibilities for AI-powered applications and workflows. Start experimenting today and see what you can create with the power of local large language models.
Article created from: https://youtu.be/jdgy9YUSv0s?si=D3_su_crRWnTBJA6