Create articles from any YouTube video or use our API to get YouTube transcriptions
Start for freeIntroduction to Pygame Platformer Development
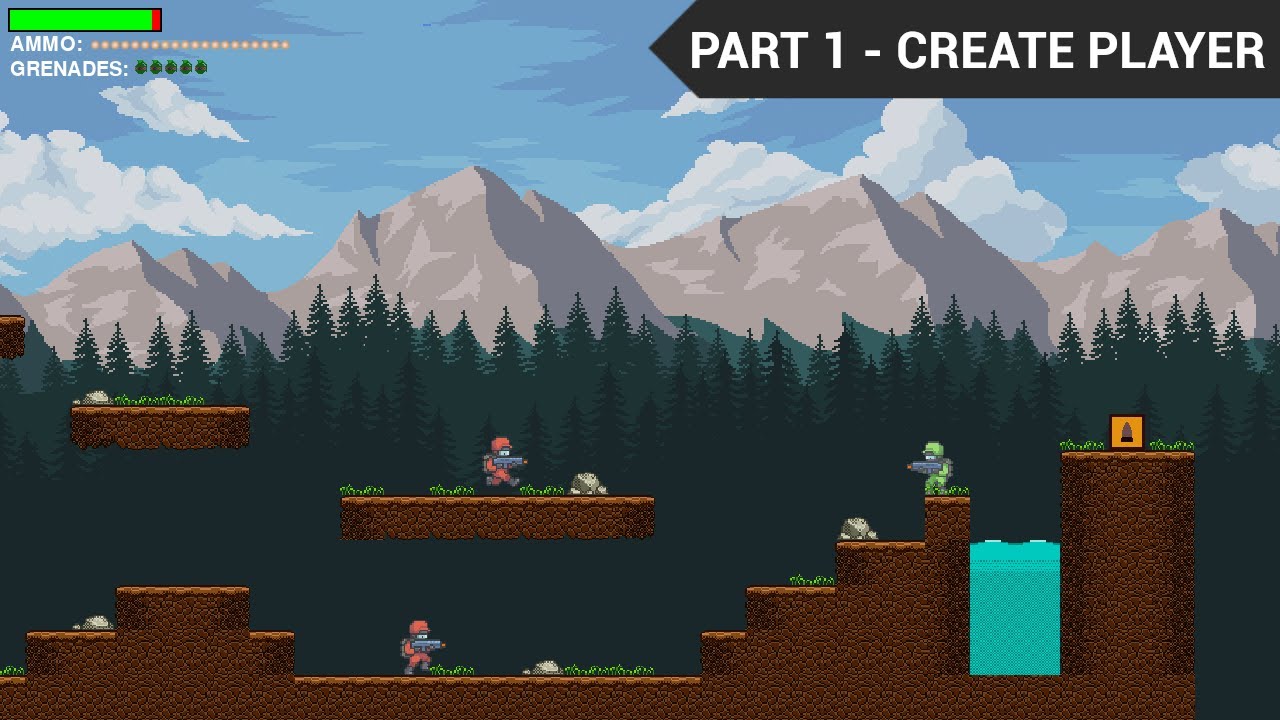
Pygame is a popular library for creating 2D games in Python. In this tutorial series, we'll walk through the process of building a platformer game with advanced features like scrolling maps, enemy AI, and player combat mechanics. We'll start by setting up the basic game structure and creating the player character.
Setting Up the Pygame Window
To begin, we need to import the Pygame library and initialize it:
import pygame
pygame.init()
Next, we'll define the dimensions of our game window:
screen_width = 800
screen_height = int(screen_width * 0.8)
We're setting the height to be 80% of the width, ensuring a consistent aspect ratio. The int() function is used to convert the result to an integer.
Now we can create the game window:
screen = pygame.display.set_mode((screen_width, screen_height))
pygame.display.set_caption("Shooter")
This creates a window with the specified dimensions and sets the caption to "Shooter".
Creating the Game Loop
For the game to run continuously, we need to set up a game loop. This is done using a while loop:
run = True
while run:
    # Game logic will go here
    pass
However, we need a way to exit the game. We can do this by handling Pygame events:
while run:
    for event in pygame.event.get():
        if event.type == pygame.QUIT:
            run = False

pygame.quit()
This code checks for the QUIT event (when the user clicks the close button) and sets run to False, breaking the loop and closing the game.
Creating the Player Character
Now let's create our player character. We'll use object-oriented programming to make our code more organized and reusable.
First, we'll define a Soldier class:
class Soldier(pygame.sprite.Sprite):
    def __init__(self, x, y, scale):
        pygame.sprite.Sprite.__init__(self)
        img = pygame.image.load('img/player/idle/0.png')
        self.image = pygame.transform.scale(img, (int(img.get_width() * scale), int(img.get_height() * scale)))
        self.rect = self.image.get_rect()
        self.rect.center = (x, y)

    def draw(self):
        screen.blit(self.image, self.rect)
This class inherits from pygame.sprite.Sprite, which provides some useful functionality for game objects. The __init__ method sets up the initial state of the soldier, loading an image, scaling it, and setting its position.
The draw method is responsible for rendering the soldier on the screen.
Creating Player Instances
Now we can create instances of our Soldier class:
player = Soldier(200, 200, 3)
player2 = Soldier(400, 200, 3)
These lines create two soldiers at different x-coordinates.
Updating the Game Loop
Finally, we need to update our game loop to draw the players:
while run:
    for event in pygame.event.get():
        if event.type == pygame.QUIT:
            run = False

    player.draw()
    player2.draw()
    pygame.display.update()

pygame.quit()
The pygame.display.update() call is crucial - it refreshes the display to show the changes we've made.
Conclusion
In this tutorial, we've set up the basic structure for our Pygame platformer. We've created a game window, implemented a game loop, and created a Soldier class to represent our player character. In the next part of this series, we'll add player controls and movement.
Understanding Pygame Sprites
Pygame sprites are a powerful tool for game development. They are objects that represent game elements and come with built-in methods for collision detection and group management. By inheriting from pygame.sprite.Sprite, our Soldier class gains access to these features.
The Importance of Object-Oriented Programming in Game Development
Using classes and objects in our game code offers several advantages:
- Reusability: We can create multiple instances of the Soldier class with different attributes, without duplicating code.
- Encapsulation: Each soldier object contains its own data (position, image, etc.) and methods (draw), keeping related functionality together.
- Maintainability: If we need to change how soldiers behave, we only need to modify the Soldier class, and all instances will be updated.
- Scalability: As our game grows, we can easily add new types of game objects by creating new classes.
Pygame's Coordinate System
It's important to understand Pygame's coordinate system when positioning game objects:
- The origin (0, 0) is at the top-left corner of the screen.
- X-coordinates increase from left to right.
- Y-coordinates increase from top to bottom.
When we set self.rect.center = (x, y) in our Soldier class, we're positioning the center of the soldier's image at the specified coordinates.
Image Scaling in Pygame
Scaling images is often necessary to make game objects the right size for your game window. In our Soldier class, we use pygame.transform.scale() to resize the loaded image:
self.image = pygame.transform.scale(img, (int(img.get_width() * scale), int(img.get_height() * scale)))
This line scales the image by the specified scale factor while maintaining its aspect ratio.
The Game Loop in Detail
The game loop is the heart of any game. It repeatedly performs several key tasks:
- Event handling: Checking for user input (keyboard, mouse, etc.) and system events (like quitting the game).
- Game logic: Updating the game state (player position, enemy behavior, etc.).
- Rendering: Drawing the current game state to the screen.
In our current implementation, we're only handling the quit event and drawing the players. As we develop the game further, we'll add more logic to this loop.
Pygame's Event System
Pygame's event system is how the library communicates things like user input to your game. The pygame.event.get() function returns a list of all events that have occurred since the last time it was called. Common events include:
-
pygame.QUIT: When the user tries to close the game window. -
pygame.KEYDOWNandpygame.KEYUP: When a key is pressed or released. -
pygame.MOUSEBUTTONDOWNandpygame.MOUSEBUTTONUP: When a mouse button is pressed or released.
In future tutorials, we'll use these events to implement player controls.
The Importance of Frame Rate
Currently, our game loop runs as fast as the computer can process it. This can lead to inconsistent gameplay across different machines. In a future tutorial, we'll implement frame rate control to ensure the game runs at a consistent speed on all systems.
Planning for Future Features
While our current implementation is basic, we're laying the groundwork for more advanced features:
- Player movement: We'll add methods to the Soldier class to handle movement.
- Animation: We'll expand the Soldier class to cycle through multiple images for walking, jumping, and other actions.
- Collision detection: We'll use Pygame's sprite collision methods to handle interactions between the player, enemies, and the environment.
- Scrolling background: As the player moves, we'll implement a camera system to scroll the game world.
- Enemy AI: We'll create an Enemy class, inheriting from Soldier, with its own update logic for chasing the player.
- Combat system: We'll add methods for shooting and taking damage.
- HUD: We'll create a heads-up display showing player health, ammo, and other game stats.
Best Practices in Game Development
As we continue to develop our game, it's important to keep some best practices in mind:
- Code organization: Keep related functionality together. As our game grows, we might want to split our code into multiple files.
- Comments and documentation: While our current code is relatively simple, it's a good habit to comment your code, especially for more complex functionality.
- Version control: Using a version control system like Git can help you track changes and revert if necessary.
- Testing: Regularly test your game to catch bugs early. Pygame doesn't have a built-in testing framework, but you can use Python's unittest module.
- Optimization: As we add more features, we'll need to ensure our game runs efficiently. This might involve techniques like sprite grouping for faster rendering.
Conclusion and Next Steps
In this tutorial, we've set up the basic structure for our Pygame platformer. We've created a game window, implemented a game loop, and created a Soldier class to represent our player character. This foundation will allow us to build more complex gameplay mechanics in future tutorials.
In the next part of this series, we'll focus on adding player controls, implementing basic physics for jumping and falling, and start working on level design. We'll also begin to think about how to structure our game world and implement a simple camera system for scrolling.
Remember, game development is an iterative process. Don't be afraid to experiment, test different approaches, and most importantly, have fun with it! Happy coding!
Article created from: https://www.youtube.com/watch?v=DHgj5jhMJKg&list=PLjcN1EyupaQm20hlUE11y9y8EY2aXLpnv&index=2


